drmariner
-
Posts
3 -
Joined
-
Last visited
About drmariner
drmariner's Achievements
3
Reputation
-
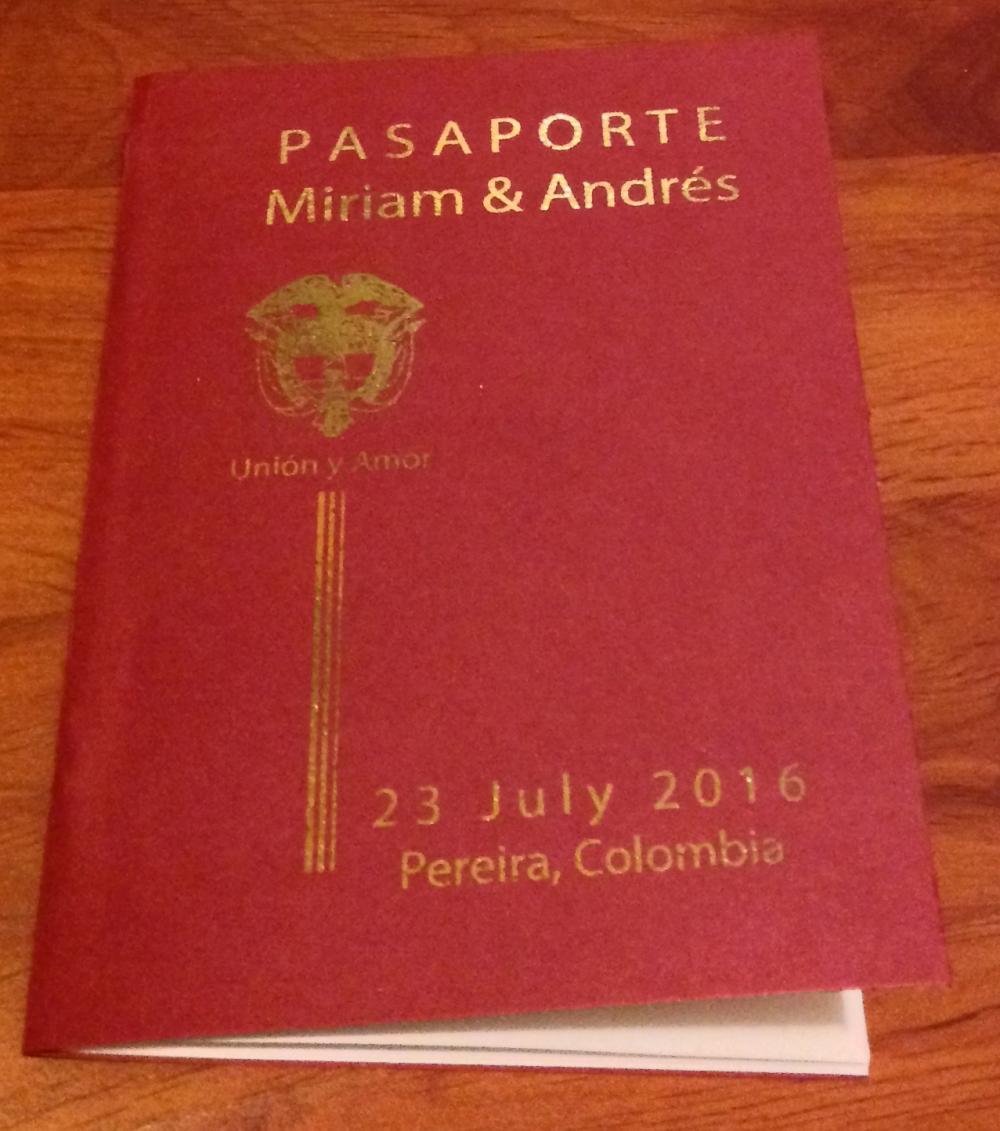
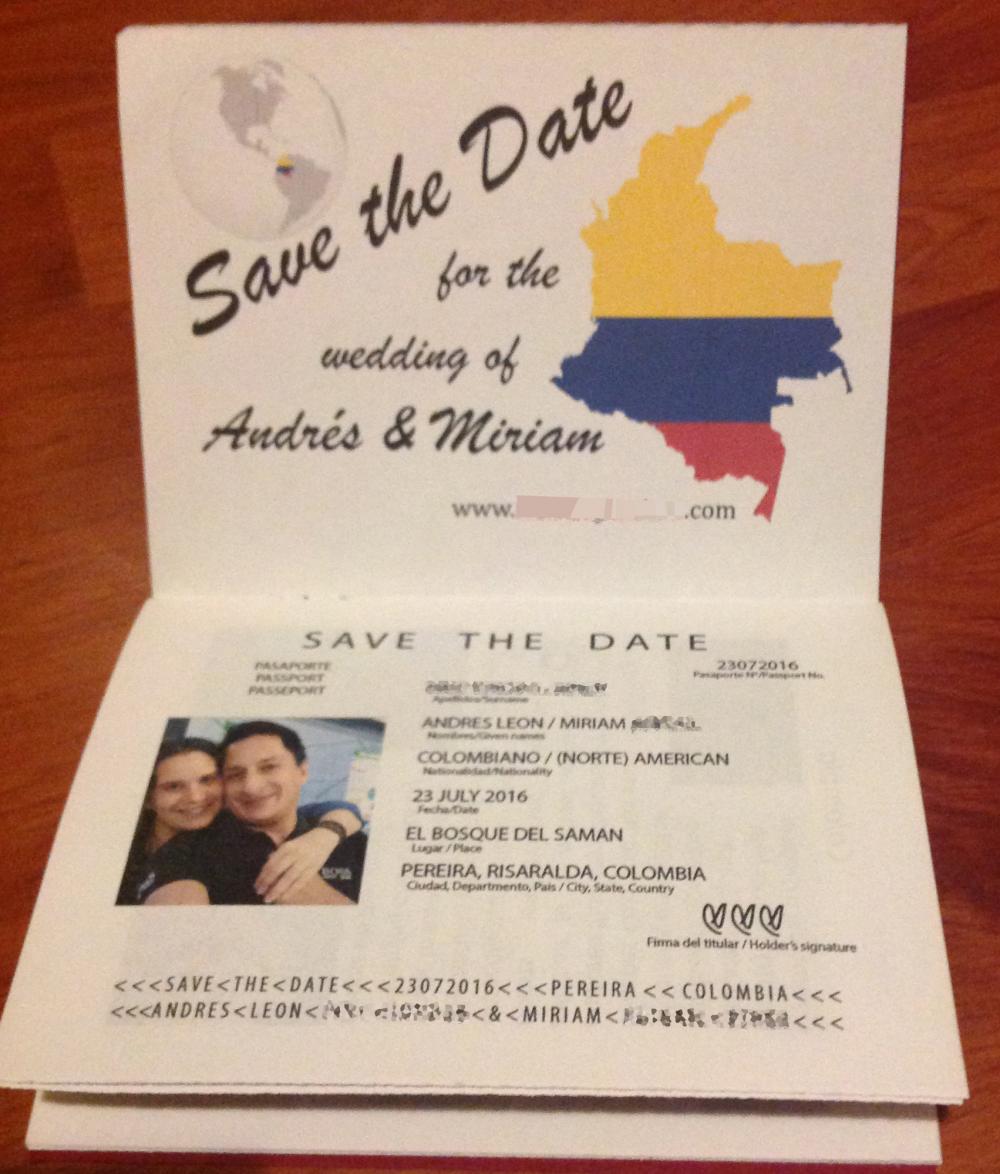
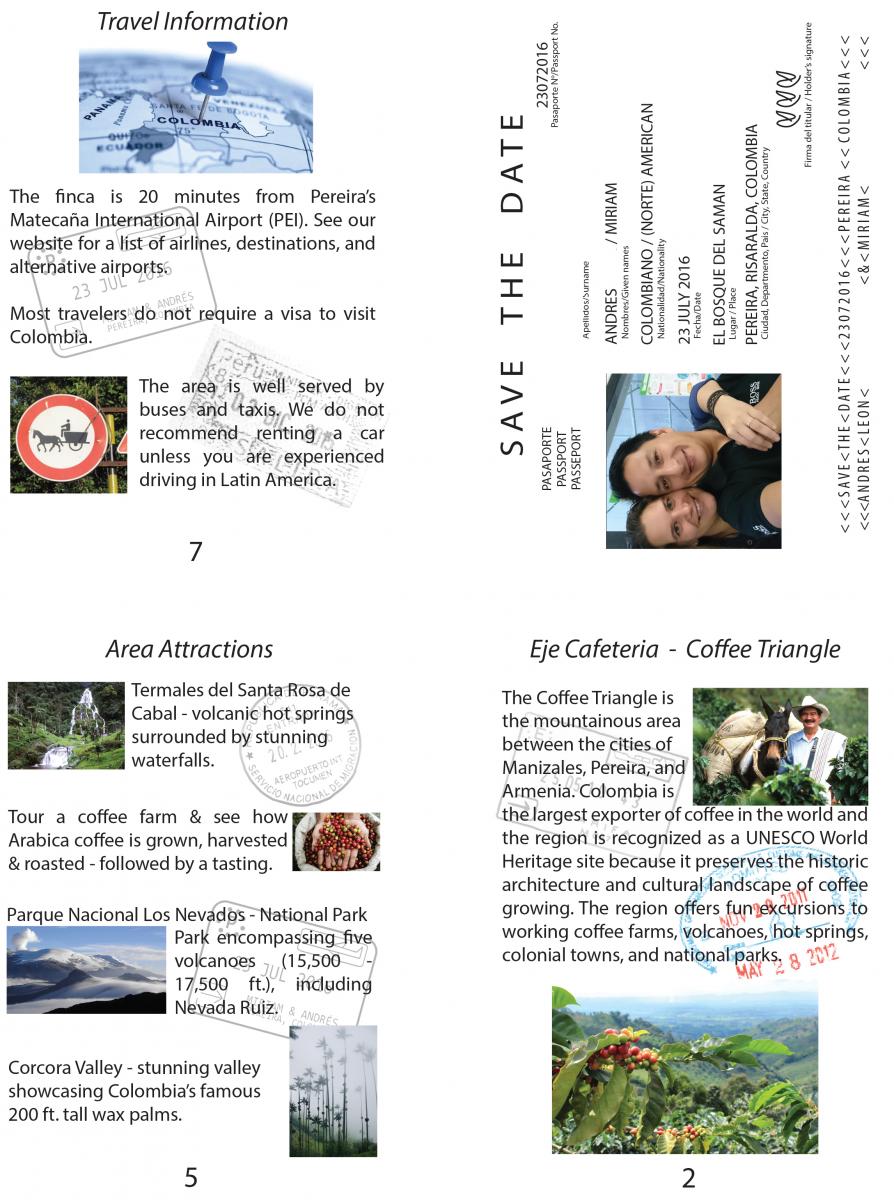
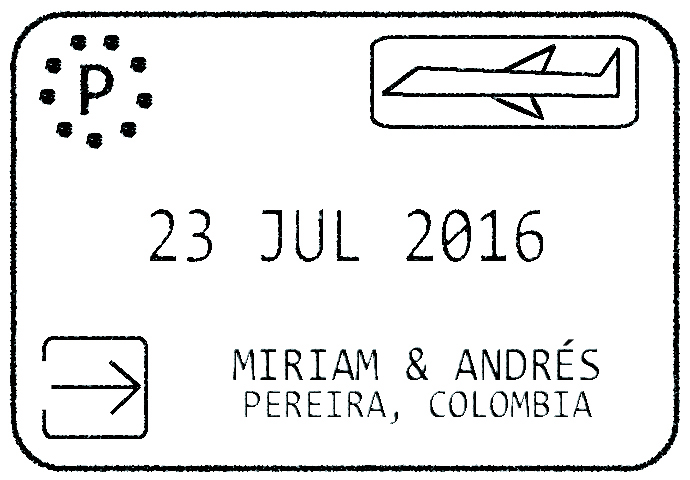
I am not a DIY type of gal. But my fiance wanted Colombian passport covers for our Colombian wedding and since he rarely want more than for me to be happy I wanted to oblige. A previous post on this site was super helpful (though it won't seem to let me comment right there). So I wanted to share. We wanted to provide a lot of information and get people excited to travel. Also a bunch of my friends and family won't be able to make it but many of them expressed a strong interest in receiving invitations and being in the loop. We thought this would be a neat way of telling them a bit about Colombia and our plans. Luckily, my family and friends are teachers and artists and had a lot of equipment I could borrow. We made forty Save the Date passport books for $20 - 50 cents each!!! maroon cardstock $0.50 per page, two covers per page = $10 gold foil = Minc brand 6.25" x 5 ft, 20 covers per roll = $10 Plus $12 for 100 envelopes and postage. Plus printer ink and some "cotton fibre connoisseur writing paper" my dad had lying around for the interior pages. Equipment: paper cutter, Minc foil machine, inkjet printer, laser printer, and a long reach stapler. I made the template in Adobe Illustrator (and happy to share in anyone if interested). FYI, the Minc foil system uses head and pressure to adhere foil to the ink deposited from a laser printer or photocopier (aka "toner"). I've read that you can use (a) a laminator and ( the heat from the laser printer itself or © an iron in the same manner as the Minc machine. I tried using the heat from the laser printer and an iron and the results were very poor. I struggled a bit with aligning the pages when I made the 3.5 x 5 inches. Then I just threw up my hands and made it a quarter of a letter size page. Things went a lot smoother after that and I ended up trimming a bit off all the edges so they fit in a 4 x 5.5 inch envelope. I think you only notice the size difference if you put it next to an actual passport. (And I should know, I've been carrying mine daily for three years of long term travel.) I've attached images of the pages as I printed them as well as imaged of the final assembled product. Also different from earlier templates, I used a stapler to staple the interior pages into a booklet and then used a gluestick to glue the interior booklet into the passport cover. Also I used a bunch of entry and exit stamps in my own passport in the background of the Save the Date. These I either scanned and removed the background from (very difficult and I have a PhD in remote sensing/image processing) or much easier - I scanned them, enlarged them, printed them and used tracing paper to trace them and then scanned them back in again. All in all a total waste of time! I'll bet no one noticed my hard won stamps! I also made our own "custom" entry stamp after the very simple EU model - in Illustrator. (I'm happy to share the template with anyone who wants it - could can just replace the text with your own.) Hopefully this makes sense with the images below...Cover.pdf Step: 1) Print cover image on a laser printer in black ink on colored, smooth card stock. (I tired textured cardstock that better represented a passport cover an the texture prevented the foil from adhering properly.) 2) Cut Minc foil to cover the laser printed area. Place card stock in plastic "folder" that comes with the Minc device and place foil over laser printed region. 3) Run through Minc device. (I found that even minor defects in the foil ruined the covers. I "lost" about 10% of the covers to unusable results.) 4) Print interior pages in regular color ink jet printer - duplex. 5) Use paper cutter to cut covers and interior pages. 6) Assemble interior pages into proper order and use long reach stapler to staple interior pages into booklet. 7) Apply glue stick to interior of cardstock cover. Attach stapled booklet in place. 8) Interior pages will hang out beyond booklet edges. Trim them with a paper cutter.

-
I second the comment above. What a tough situation. Such an awesome sister & MOH you are!
-
Wow. Tough isn't it? I'm an American marrying a Colombian. We haven't experienced this (yet) but I've read about a similar problem in the Latin American culture with people bringing unexpected guests along for the ride. The one thing I read that seems relevant for our situation (6-8 hour travel for all of his family and friends) was to make dedicated RSVP cards for each invite. (Ton of work, I know.) An Ecuadorian woman found this helped. Each invitation had an RSVP that explicitly listed each invited person with a box next to their name. This might not work since I've also heard that getting RSVPs back from certain cultures is also a hassle as it is just such a different culture. I don't fully understand the situation but perhaps this may help?