AtoZ
-
Posts
68 -
Joined
-
Last visited
About AtoZ
AtoZ's Achievements
6
Reputation
-
 I'm getting married at Ocean Coral & Turquesa on April 11 and our Vancouver guests paid just over $1500 -- plus we're able to use AirMiles points because we used Marlin Travel (who, in turn, use Air Transat.)
 -
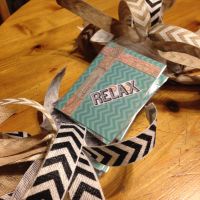
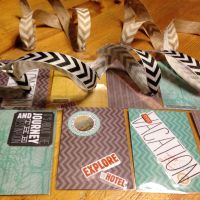
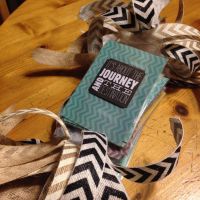
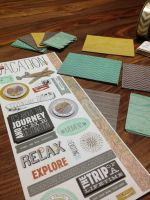
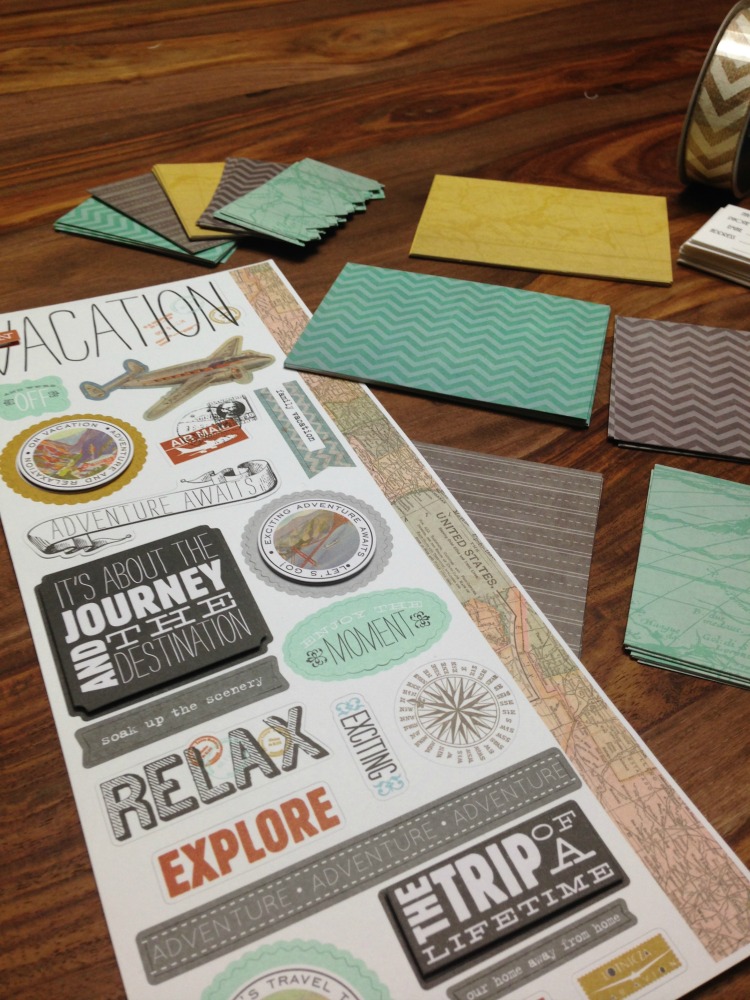
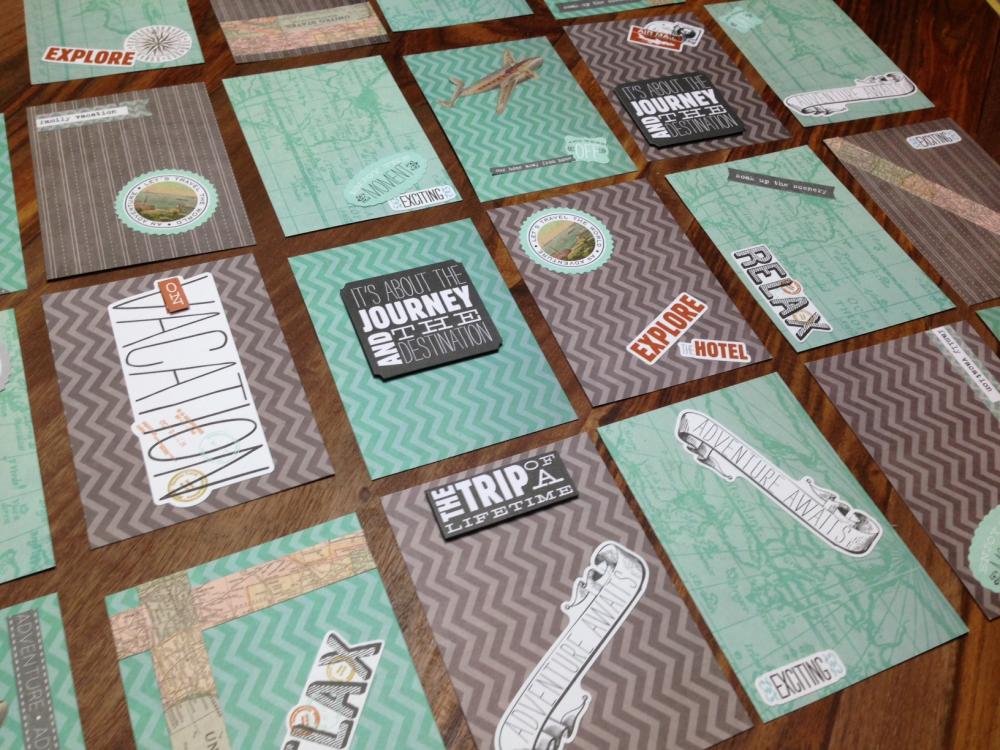
Here's that promised post on my pre-mailer laminated luggage tags. (The inspiration can be found here.) Once again, excuse the iPhone photos and the shine off the laminated tags. Items needed to make them: Scrapbook paper from Michaels. I bought a 'vintage collector' mixed pad that featured maps, chevrons and the like. They feature a different pattern in the same colour on the back. Mix vacation scrapbook stickers from Michaels. (Item #673807978911) Ribbons (you could substitute for cord, twine, etc.) White card stock for the personalized tags (not pictured). Download the template here. Laminator and pouches. Single hole puncher. Paper trimmer. Fine point detail pens. Mother-in-law. OK, this one isn't necessary, but it was nice to have someone helping in one of my projects. Cost breakdown: Scrapbook paper (only needed half): $14.99. $9 after coupon. Four packs of stickers: $4.99. $2.99 after sale. Two roles of chevron jute ribbon: $6.99 each. $5.24 each after sale. .28 per white linen card stock = $1.68 Thanks to Michaels bundling of coupons, I managed to save off my total order as well, which came out to a grand total of $31.85 with taxes -- plus the $1.68 from my card stock supply. That works out to $0.93 per luggage tag. (I won't include the laminator in this breakdown because I've already loaned it out to others, so it's not a one-time use. However, I did manage to score it on a sale at Walmart for $25 if you're thinking about getting one yourself. If I include the price, plus extra pouches, my tags work out to about $1.90 each.) Time breakdown: Cutting 36 cards and placing the stickers = 20 minutes Hand-writing names/addresses = 10 minutes Laminating = 10 minutes Trimming laminated tags, hole punching and adding ribbons = 30 minutes (with two people) Total time: 1 hour and 10 minutes spread over a few days.
- 11 replies
-
- 1
-

-
- Event Details
- Event Details
- (and 7 more)
-
-
-
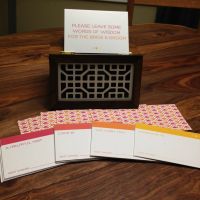
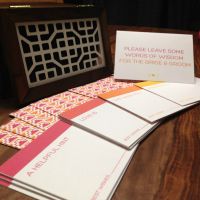
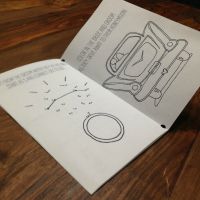
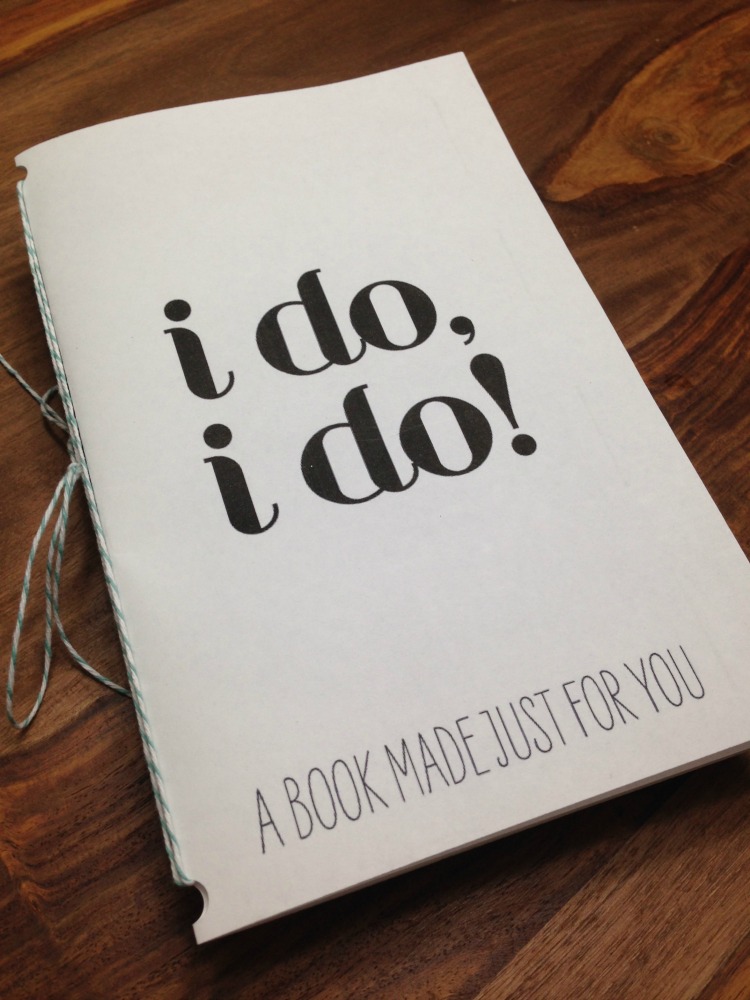
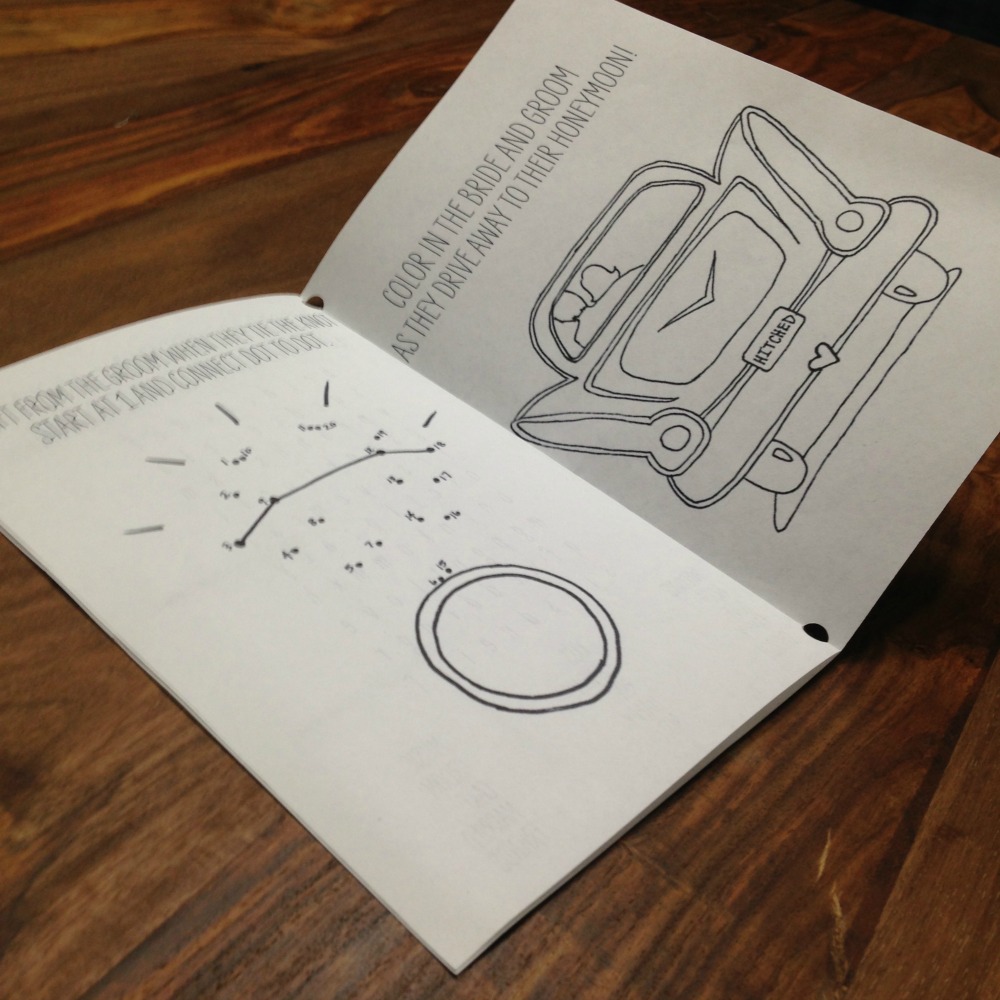
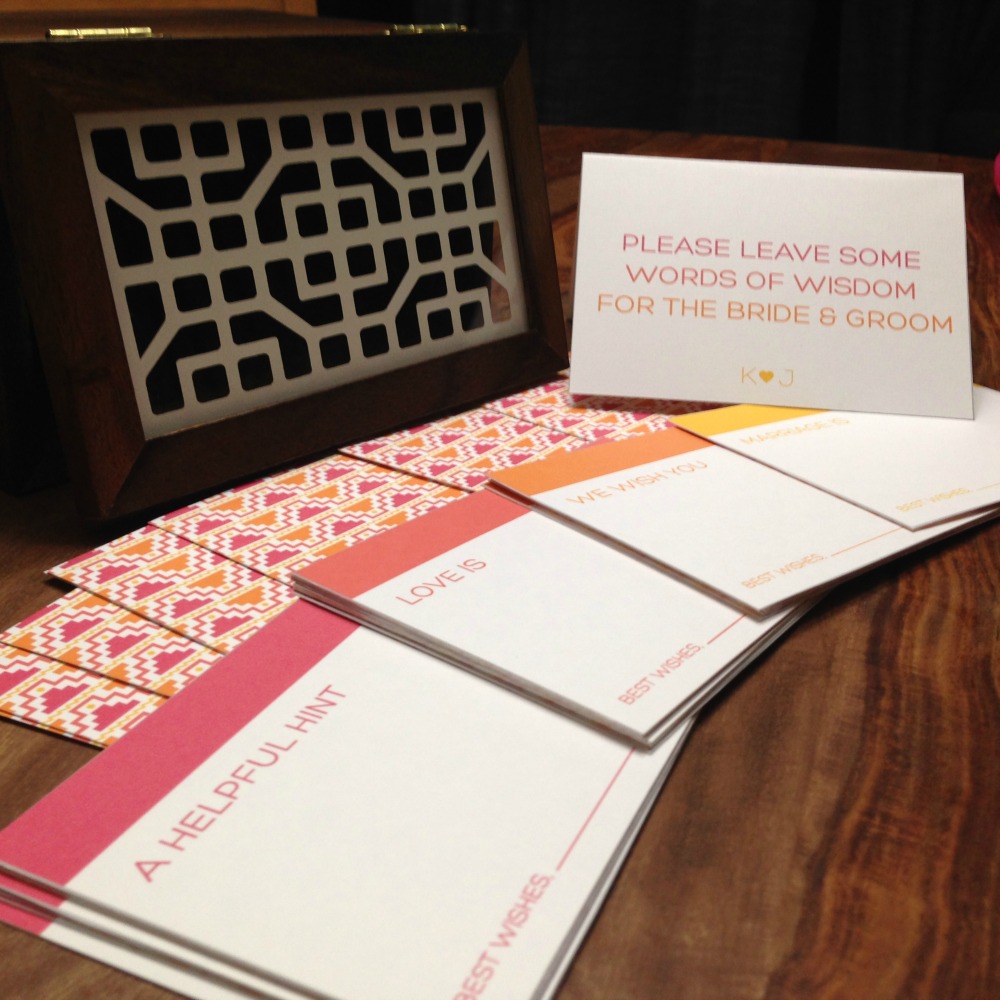
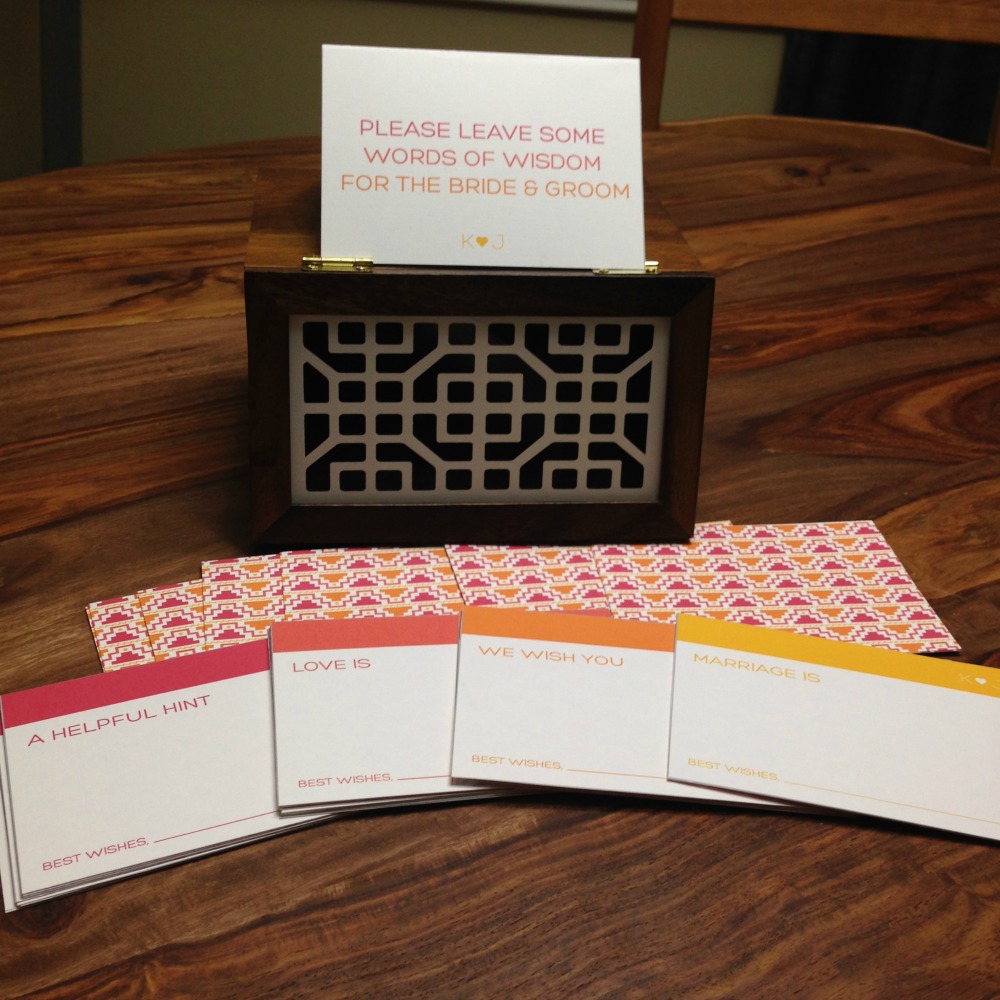
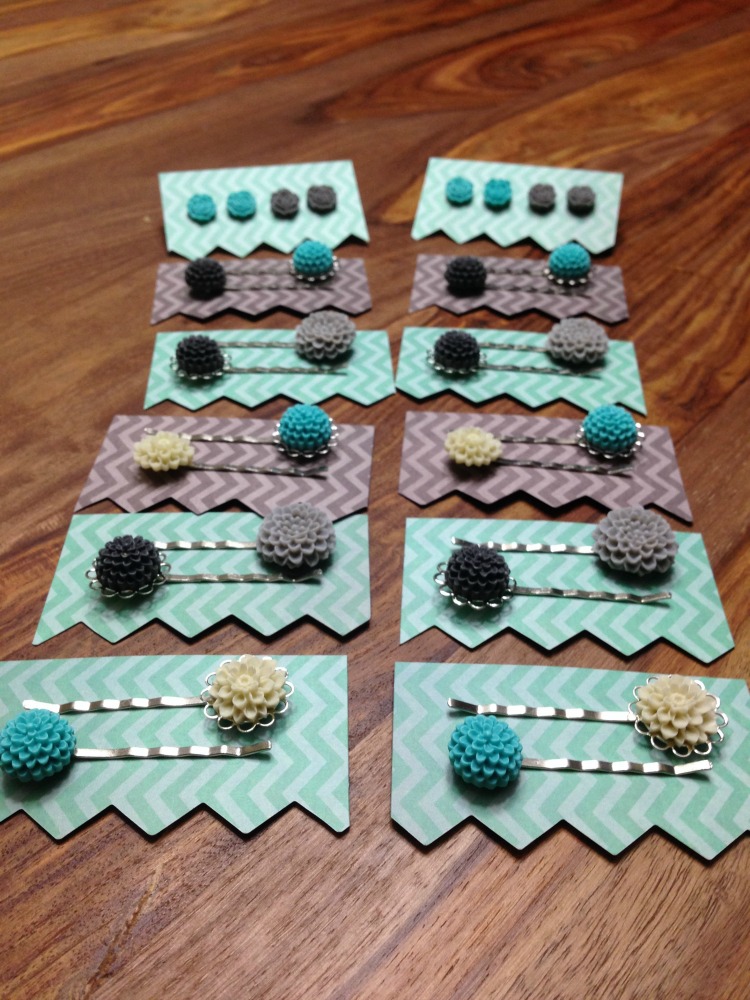
I just realized that the images posted as attachments, so many of you may not be able to see them. Here they are: Alternative guest book/advice cards Bridal party earring and hairpins Kids' activity books Luggage tags (not completed in photos)
-
Would you mind passing on the menu information? I've been waiting to hear back from Ana about the food -- so far we've just been discussing some gluten-free/veggie options.
-
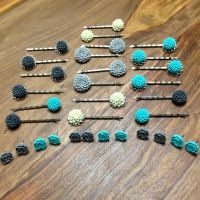
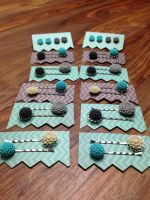
I managed to bang out a few of my DIY projects today and thought I would share the results. Excuse the poor iPhone photos. ALTERNATIVE GUEST BOOK Like my save-the-dates and wedding invites, I turned to a free printable to make our alternative wedding guest book -- wedding advice cards. This project came courtesy of Marry This! The colour combinations don`t match the rest of our DIY items or wedding theme, but we plan on framing some of our favourites and hanging them in our upstairs hallway -- where it will match the current artwork. Items needed to make them: White linen card stock from papercircle.ca. I bought 8-1/2" by 11" which let me print two cards per page. You could probably print four per page if you managed to export them from the Adobe file (which lets you customize your initials) but it wasn`t worth the hassle to me. Paper trimmer. Recipe box Cost breakdown: This was a fast one. It took a little over half an hour to print 40 double-sided advice cards (they have a pattern on the back) and the pop-up card. .20 per white linen envelope = $4.20 Wood recipe box with glass, patterned lid from Target = $14 Grand total: $18.20 I could have cut costs by finding a cheaper recipe/memory box, possibly from Michaels where I could have taken advantage of their coupons. BRIDAL PARTY JEWELLERY Items needed to make them: Resin cabochons from Etsy seller snapcrafty. Lace-edged settings (snapcrafty). Silver lead-free hairpin blanks (snapcrafty). Silver earstuds and backings from Etsy seller PrairieDogSupplies. ADH001 glue Leftover scrapbook paper (from another project) for packaging. I've seen these flower cabochon hairpins all over Etsy and in some of my favourite local shops but I didn't see myself coughing up $20 for three hair pins. It took me all of about 15 minutes, if that, to put the tiniest dab of glue on the earstuds settings and hairpin blanks and attach the cabochon. I let them dry for a couple hours and then used some scrapbook odds-and-ends from another project to make some packaging, which took me about another 5-10 minutes. I simply used a needle to poke holes for the earrings and a box cutter to make small slits on either side of the paper for the pins. Cost breakdown: 30 cabochons of various sizes: $18.18 total 12 settings: $6.30 20 hairpin blanks: $6.30 10 pairs of silver earstuds and backings: $1.50 (yes, you read that right) Glue: $3 Grand total: $35.28 This works out to $8.82 for each bridesmaid (2) and flower girl (2). KIDS`ACTIVITY BOOK Here's a DIY project that takes less than a couple of minutes. Simply download the free printable kids' activity book from Lovely Indeed and follow their printing instructions. I used regular computer paper. I then punched two holes in the spine and tied it together with leftover baker's twine from our wedding invites. NEXT UP: I'm in the middle of making laminated luggage tags to send with our pre-travel mailer along with these packing tips and their tickets. Here's my inspiration. I'll follow up with a new post when I'm done.

-
Hippie Wedding Dresses
AtoZ replied to derrickjohn's topic in Destination Wedding Dresses, Wedding Attire & rings
BHLDN and Nicole Miller have some great bohemian-style dresses. Ivy & Aster might be another one worth checking out. -
Another user (GatorGirl1) posted her template to a similar Passport invitation about a year or so ago. Here`s her post with the downloadable template.
-
Thanks for the lovely feedback, everyone! I'm starting our next DIY projects today: bridesmaid hairpins, necklaces and earrings; Luggage tags and packing lists for pre-travel mail-out; Alternative advice guest book/cards; Escort cards; OOT bag stickers and packaging; and Welcome booklet for OOT bags That just leaves the menu and the programs, which I can't start until I hear back from the resort about some things. Let's hope I don't get the urge to do anything else. There's only three more months to get it all done!
-
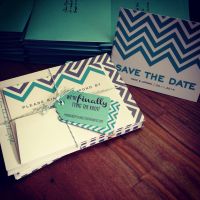
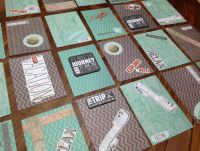
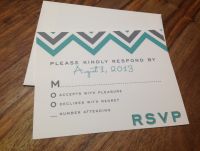
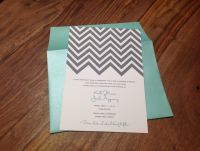
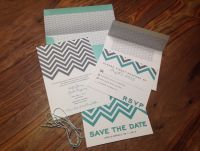
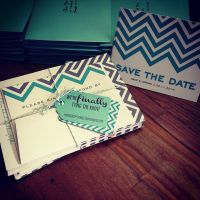
Our invitations were sent out in the summer and as of this week, everyone has booked and paid in full, which means I can now relax (somewhat). Like our save-the-dates, we used a free printable suite from the Wedding Chicks and then Photoshopped and crafted some extra add-ons to personalize it a bit more. And, because the invitation is part of a suite, we plan on also using it for our menus, thank you cards and possibly our escort cards. We'll also be purchasing their matching totes for our OOT bags because, well, theme. What I needed to make the invites, RSVP cards, luggage tags and the lined envelopes: White linen card stock from papercircle.ca. I bought 8-1/2" by 11" which let me print two invites per page and four RSVPs per page. White linen A2 envelopes from papercircle. Tiffany blue metallic A7 envelopes from papercircle (They're actually more of a teal). Tiffany blue metallic card stock from papercircle. Custom stamp from MyStamp on Etsy. Calligraphy pens and fine-point detail pens from Michael's. Extra-large luggage stamp from Michael's. Pre-cut chevron luggage tags from Michael's. (Note: They came four colours in a package.) Paper trimmer. Double-sided glue runner. Regular hole punch. Canon Pixma 982 printer. (We scored a deal and bought it when it was $100 off the regular price.) Plain printer paper. Divine Twine in teal and white from Greenmunch.ca. The invitations are pretty easy to create on the Wedding Chicks' generator and, as an added bonus, it allowed us to change the standard wording to reflect our history and personalities. Our invite reads: Quote: It took over eight years of friendship and 4,328 kilometres to realize ...that sometimes when you know, you just know. Please join us in the celebration of the marriage of Our tagline on the bottom reads: Dinner, drinks and awkward dancing to follow. We planned ahead to switch the colours of the font and the chevrons around so that they would match, but each piece would be stand out on its own. The STDs were mostly in the teal colour with grey font, while the invitations were grey with highlights of teal (our names, the tag line) and the RSVP was a mix of grey and teal chevrons. I also printed a free herringbone pattern called "tiny pieced chevron" in light grey from Melstampz's Flickr on plain computer paper and used it to line our envelopes. I managed to do about two liners per page -- they didn't go all the way to the bottom because that felt unnecessary and led to many papercuts on the first few attempts. TEAL LUGGAGE TAGS Figuring out the luggage tags wasn't as difficult as I thought. I simply measured the dimensions of the tag and then used that to draw an invisible outline in Photoshop Elements (just the box part of the tag). I downloaded some free fonts to play around with until I found something I liked, then copied that tag over and over on the page. I ended up only needing to print about six pages, which gave me enough for 64 invites. NOTE: Printing text using downloaded fonts can cause pixelation, so you may have to play around with your anti-alias settings. --- Once the individual elements were created, I put the entire package together, bound with one piece of twine and luggage tags (which covered the initial twine knots) and finished with a bow. This was left to the fiance. Turns out he's better at tying bows. I chose to handwrite the addresses on the envelope because I wanted it to be personal and didn't want to mar our envelopes with a sticker. Here's where things went awry... I began by stamping our return address on the back of the metallic envelopes and let them dry overnight -- they looked great -- then two days later it had turned into a giant black smudge from where the ink bled into the paper. Thankfully, I found grey chevron patterned Post-It book tabs from Michael's which I stamped and glued over the mess. I didn't lose a single envelope as a result! THE COST BREAKDOWN: Time: Eight hours spread over a long weekend to make 64 RSVPs, invites and lined envelopes for both -- minus the printing time. Cost: .20 per white linen envelope = $12.80 .28 per white linen card stock = $4.48 .40 per metallic card stock = $2.40 .40 per metallic envelope = $25.60 $5 per package of chevron luggage tags = $15 (thanks to coupons) $3 per package of chevron Post-It book tabs = $6 $80.64 in domestic (Canada) postage for the invites and the RSVPs GRAND TOTAL: $2.30 per package (RSVP with lined envelope, invite with lined envelope, two luggage tags, twine, postage) Add the .90 it cost us for the mailed STDs and we're looking at $3.20 for the whole thing per guest/couple. *Note: I'm not including the price of the computer paper and some supplies (such as the twine and luggage stamp) because we already had them and will be using them in future projects.
-
AtoZ's DIY (Printable) Chevron Invitation Suite
Images added to a gallery album owned by AtoZ in Pictures from (pre-2014) Forum Topics
-
-
That sounds great! You'll have to post a photo once you've done them.
-
It took me no time at all to line them once I had a template (which also only took a minutes). I was averaging 10 in about 4 minutes and received a lot of compliments -- people thought I bought them lined. The only annoying part was printing the paper. That took a long time but I was able to do other things while the printer chugged along.
-
Show off your shoes....
AtoZ replied to twinkletoes's topic in Destination Wedding Dresses, Wedding Attire & rings
I plan on getting the same ones. They had a similar pair last spring that ended up dropping to $80 in the winter. Chinese Laundry and Steve Madden have similar styles for much less. -
Forgot to mention: We're also purchasing Wedding Chicks welcome tote bags. They have three different chevron patterns, which tie into our invitations, but we're going with this Bienvenidos option in Tiffany or aqua blue. The bags come in groups of 20 for $125 -- but are often on sale for $100 for the lot. They ship to Canada for a low cost, fellow Canucks!